The Facebook Addon for Newsletter is an extension which enables subscriptions to your newsletter via the Facebook Connect technology. Users with a Facebook account can subscribe with almost one single click.
Note: your site must use HTTPS to use the Facebook Login.
Getting a Facebook App ID and App Secret
An app ID is required to use the Facebook connect for subscriptions. Here the steps you need to follow on Facebook.
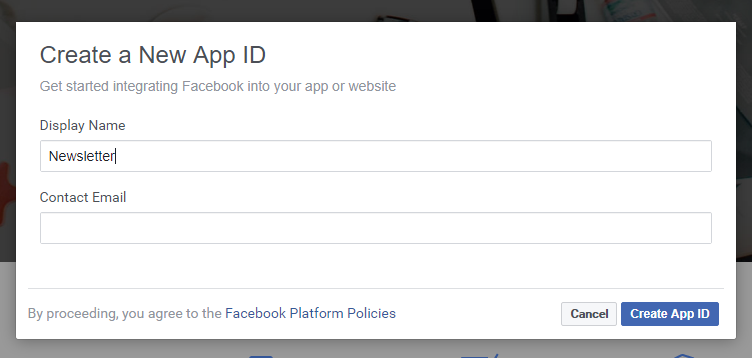
Open the Facebook developer page and on top right find “My apps” and select “Create app”. Input an app name and you contact email address and press “Create App ID”.
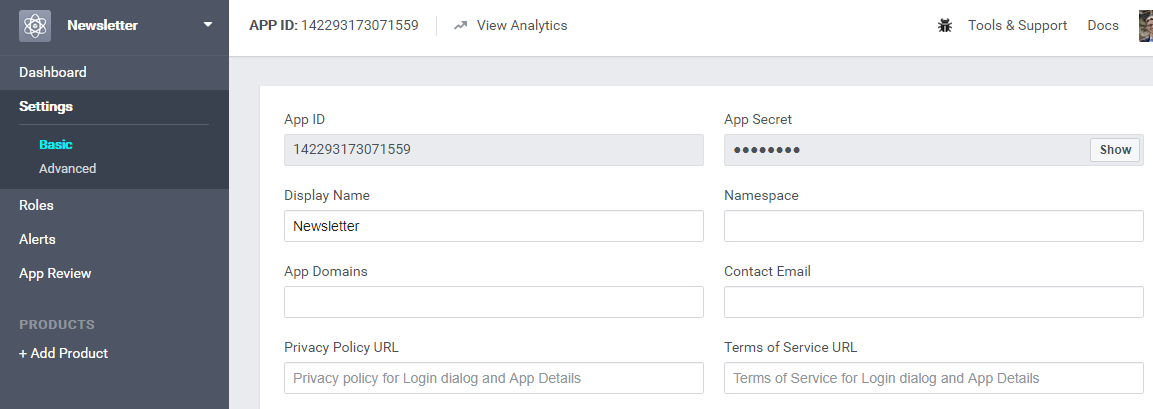
On next screen, select on the left “Settings/Basic” and you can get the App ID and the App Secret. Copy those values in the addon setting page in your blog.
Set, it is required, a privacy policy URL.
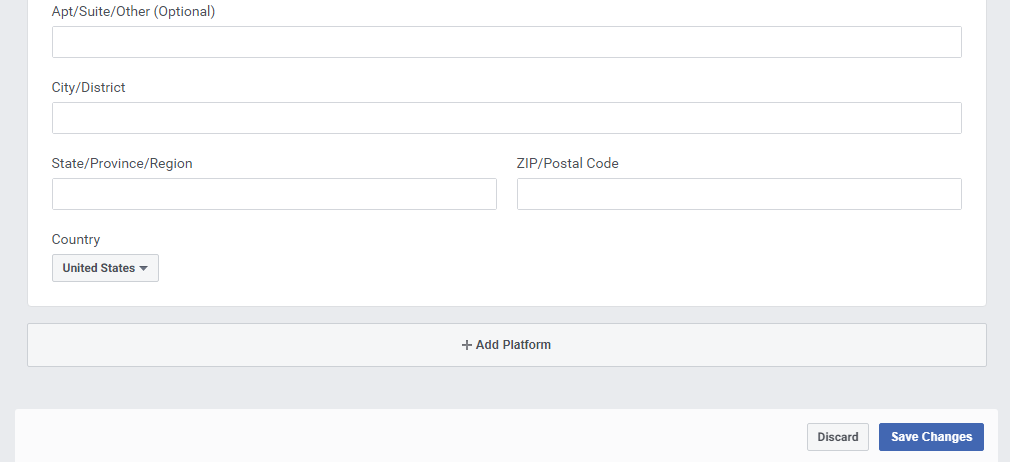
Staying on that page, scroll to the end and press “Add a platform”.
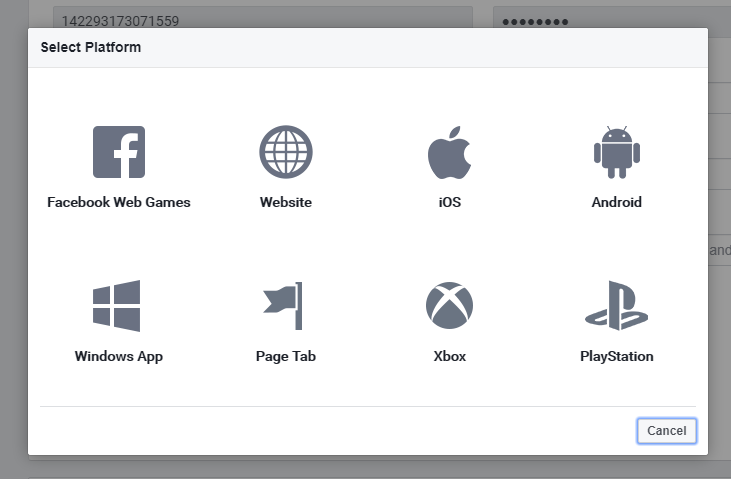
A popup like the one below will appear: select “Website”.
A box appear just over the “Add platform button”:
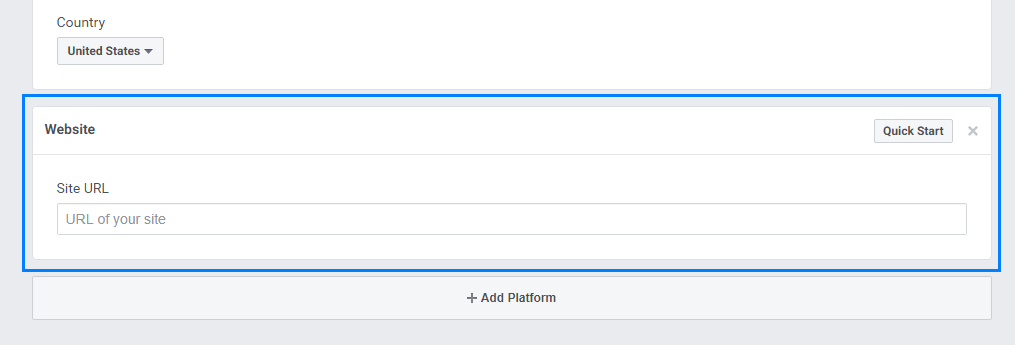
Enter you site home url in the new box. Pay attention to use https.

Save and on the left menu you should see the “Product (+)” entry.
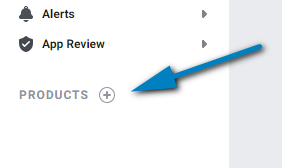
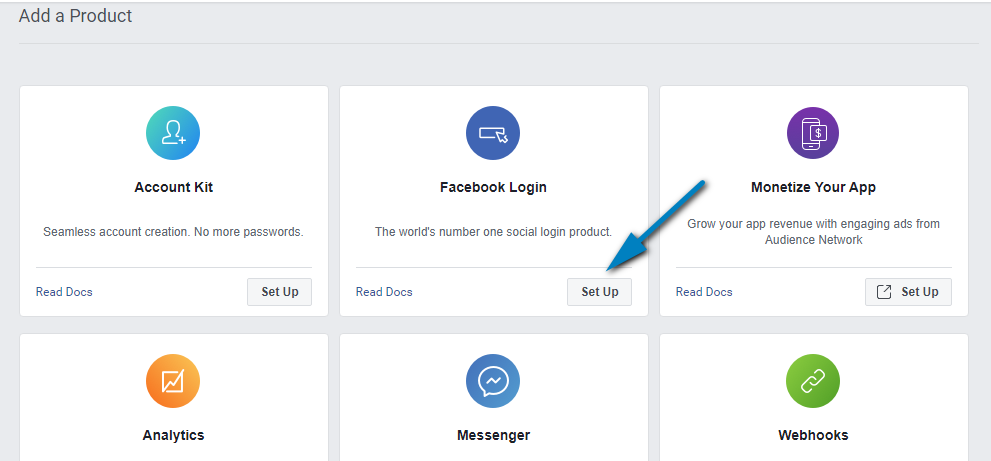
Press it and a board is loaded with many boxes. Find out the one titled “Facebook login” and press the setup button:
You’re entered the quick setup for the Facebook login feature. Select “Web”.

Confirm your website address is already there, press “Save” and stop there, there is no need to add the JavaScript or anything else.

On the page left menu the “Facebook Login” is now apeared, select under that voice the “Settings” entry.
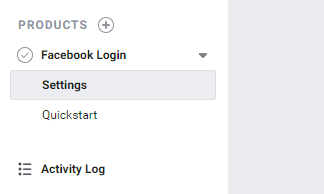
The main page will load a login list of settings. Scroll down to the “Redirect URI Validator” box and write inside the URL you can find on the Facebook Addon configuration panel.
If you enabled the new link format, it should be like
https://www.domain.com/?na=facebook
while the old link format is something like
https://www.domain.com/wp-content/plugins/facebook-newsletter/login.php
You can add both links to the Facebook App configuration!

Using the “Check URI” button you can validate the URL.
Save!
On top of the page you can see the “online” switch. Press it, select an application category, if requested, and you’re online. The switch becomes green.


That’s all, now everything should work.
How to offer the Facebook sign up
Nothing happens on your subscription form when this module is active but a new tag will be available. The tag is {facebook_url} and you can add it on subscription page text or on widget text and it will be replaced by an URL which starts the subscription via Facebook.
I used a tag so you’re free to put it where you prefer (on texts managed by Newsletter), but on extension panel the final URL is available if you want to use it directly everywhere else.
Another tag is the {facebook_button} tag, which generates a link that looks like a blue button. This tag should be more immediate to use, but less felxible.
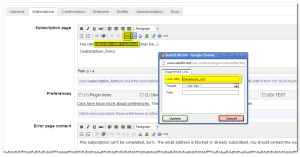
An example of insertion of that tag on the subscription page: select a piece of text which will be the link to subscribe with Facebook, use the link toolbar button and insert as “href” the tag {facebook_url}.
Of course you can add that link around an image and may be on future releases there will be some options to directly add a graphical button.
On widget configuration, since there is not a visual editor, the code to create a link is:
<a href="{facebook_url}">Sign up with Facebook</a>
Easy!
The tag does not work in the middle of a post content, of course, but you can use the direct link generated by the tag. For example on my site the link generated is:
https://www.thenewsletterplugin.com/wp-content/extensions/newsletter/facebook/login.php
so in your site it will look like:
http://www.youdomain.com/wp-content/extensions/newsletter/facebook/login.php
but it depend on how and where the blog is installed. The easy way to find how the link looks like is to add the tag on the subscription text or in the subscription widget and copy it or copy it directly from the help tab in the configuration page.
Welcome email or not?
Since Facebook already certified the email address, we do not need to force a double opt in. This is a big advantage over a regular subscription but remember that many users don’t like to use their Facebook account to “connect” to sites, so be sure to always offer the standard subscription alternative.
So when a user subscribes with Facebook it will be stored as confirmed and he should receive the welcome email. If you prefer to not send that email, you can deactivate it on Facebook module configuration. If enabled the standard welcome email will be used.
Pay attention: if you use the welcome email to deliver access to reserved contents, be sure to send it!

