This add-on integrates the MailerSend (aff) mail delivery service with the Newsletter plugin.
The MailerSend Addon is free, you can install it from the Addons page on the Newsletter plugin administration side of your WordPress blog or by downloading the zip package from your account page at thenewsletterplugin.com and installing it as a regular plugin.
To use MailerSend delivery service you need an account (both for the free or paid plans) and a validated domain: MailerSend provides a step-by-step procedure to validate the domain you want to use as the sender address for your newsletter.
For example, if the sender address is newsletter@mynicedomain.com, you should validate “mynicedomain.com”. Validation requires the modification of your DNS, you can ask for support to your hosting provider.
Once a domain is validated you should see it listed like this:
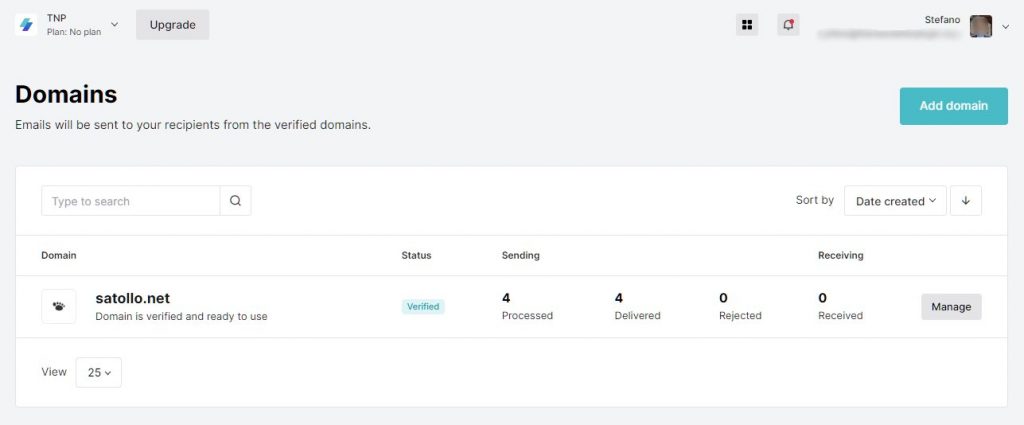
Note: the domain “satollo.net” on these screenshots is only an example, you will use your own domain.
Getting the API token
The API token is used to connect the Newsletter plugin to MailerSend.
From the MailerSend console, click the “Setting” menu entry on the left and on the page that gets loaded select “API Tokens”.
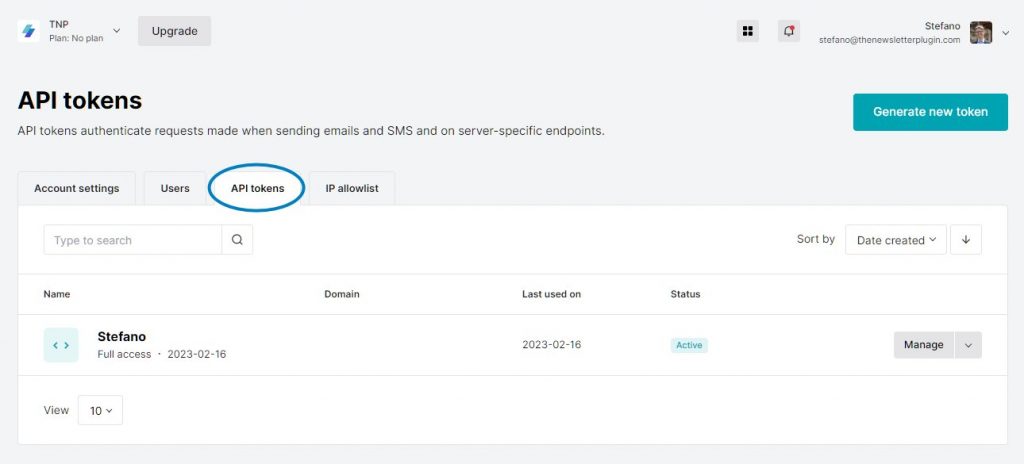
Press the top right button “Generate new token” and a popup appears asking for a few details. Choose freely a name and the domain you’re going to use. You can create an API token valid for every domain you validated or think to validate in the future.
Give full access permission or just what the Newsletter plugin requires: Email, Webhooks, and Domains. See the pictures below.
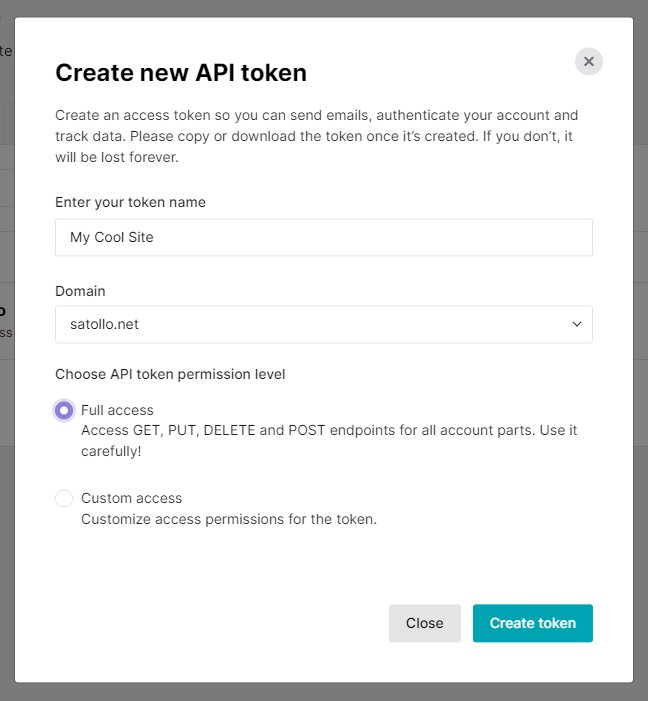
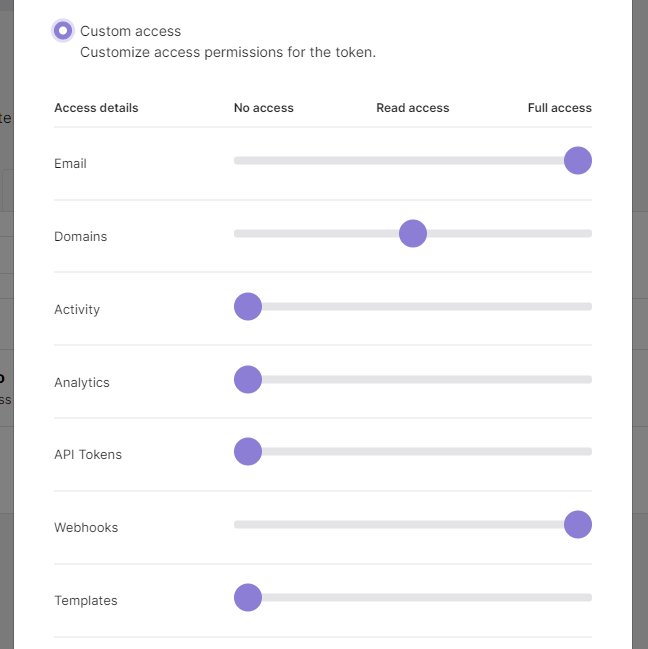
Press “Create the token” and you’ll get a long text you should copy on the MailerSend Addon configuration to complete the connection.
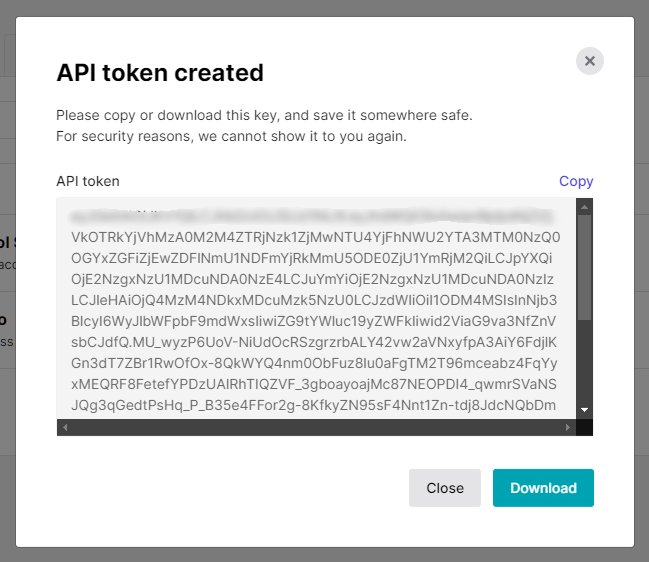
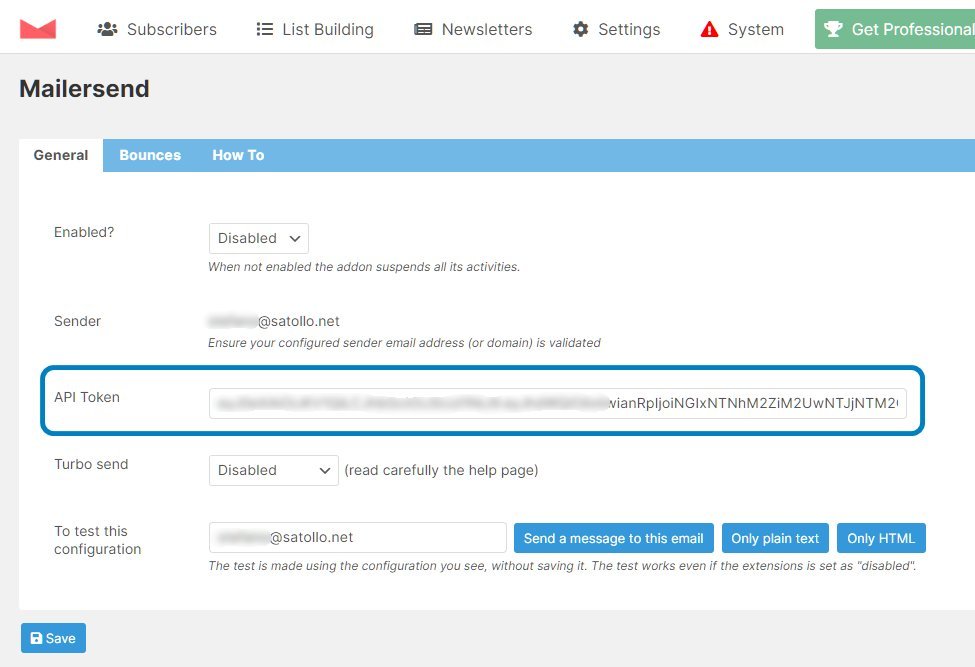
Paste the token in the API token field on the addon configuration page and save. Run a few tests to check if everything is working. When ready, remember to “enable” the addon (first setting on the screenshot below) so all emails sent by the Newsletter plugin will go through MailerSend.
